
Adding an OLED Display to the Atreus Keyboard

Sep 27, 2020
I've been using an Atreus kit keyboard as my daily driver for a few years now. Even after building several others, I keep returning to the Atreus, partially out of familiarity, but mainly because it's such a well-designed, compact but full-featured, ergonomic keyboard. While discussing with a coworker whether to have an OLED or encoder on a new keyboard, I realized it would be really nice to have a display on my Atreus, mainly to show me which layer is active. It was a fun weekend project, and the final result went beyond indicating the layer and even showing the full key map. All source code available on GitHub.

Hardware
The first step was to determine if the microprocessor, an A-Star 32u4 Micro from Pololu, had enough pins free to even drive an OLED display. It's the smallest in the line, and provides 18 general purpose I/O pins, 15 of which are needed for the keyboard (11 cols + 4 rows). Conveniently (or so I first thought) the three unused pins were those needed for SPI, so that was my first plan. However, SPI needs an additional pin to select the active device; with just one device one may be able to get away with tying that pin to ground, but it doesn't sound like a great idea. The A-star Micro has two LEDs onboard, so theoretically one could tie into one of those (although to get to the LEDs on a already-assembled Atreus would require desoldering the Micro or all the key switches, so not really an option). The next option was to move two rows from the I2C pins to two of the unused SPI pins, and use I2C for the display. This decision was further bolstered when I discovered that the QMK OLED driver only supported I2C.
For display I selected the tiny 0.96" 128x64 OLED display from Adafruit, for a number of reasons:
- it supported both SPI and I2C (I was still debating, and wanted the flexibility to call an audible on the workbench)
- it's a good size to fit on the available space (either in the middle or on top)
- it uses a well-supported and -documented driver IC (SSD1306), not to mention Adafruit's great documentation and guides.
- it includes bi-directional level-shifting so no external circuitry is required to interface the 3.3v SSD1306 with the 5v ATMega23u4.
Once the display was in hand I quickly breadboarded a proof-of-concept with a spare A-Star Micro and some switches.
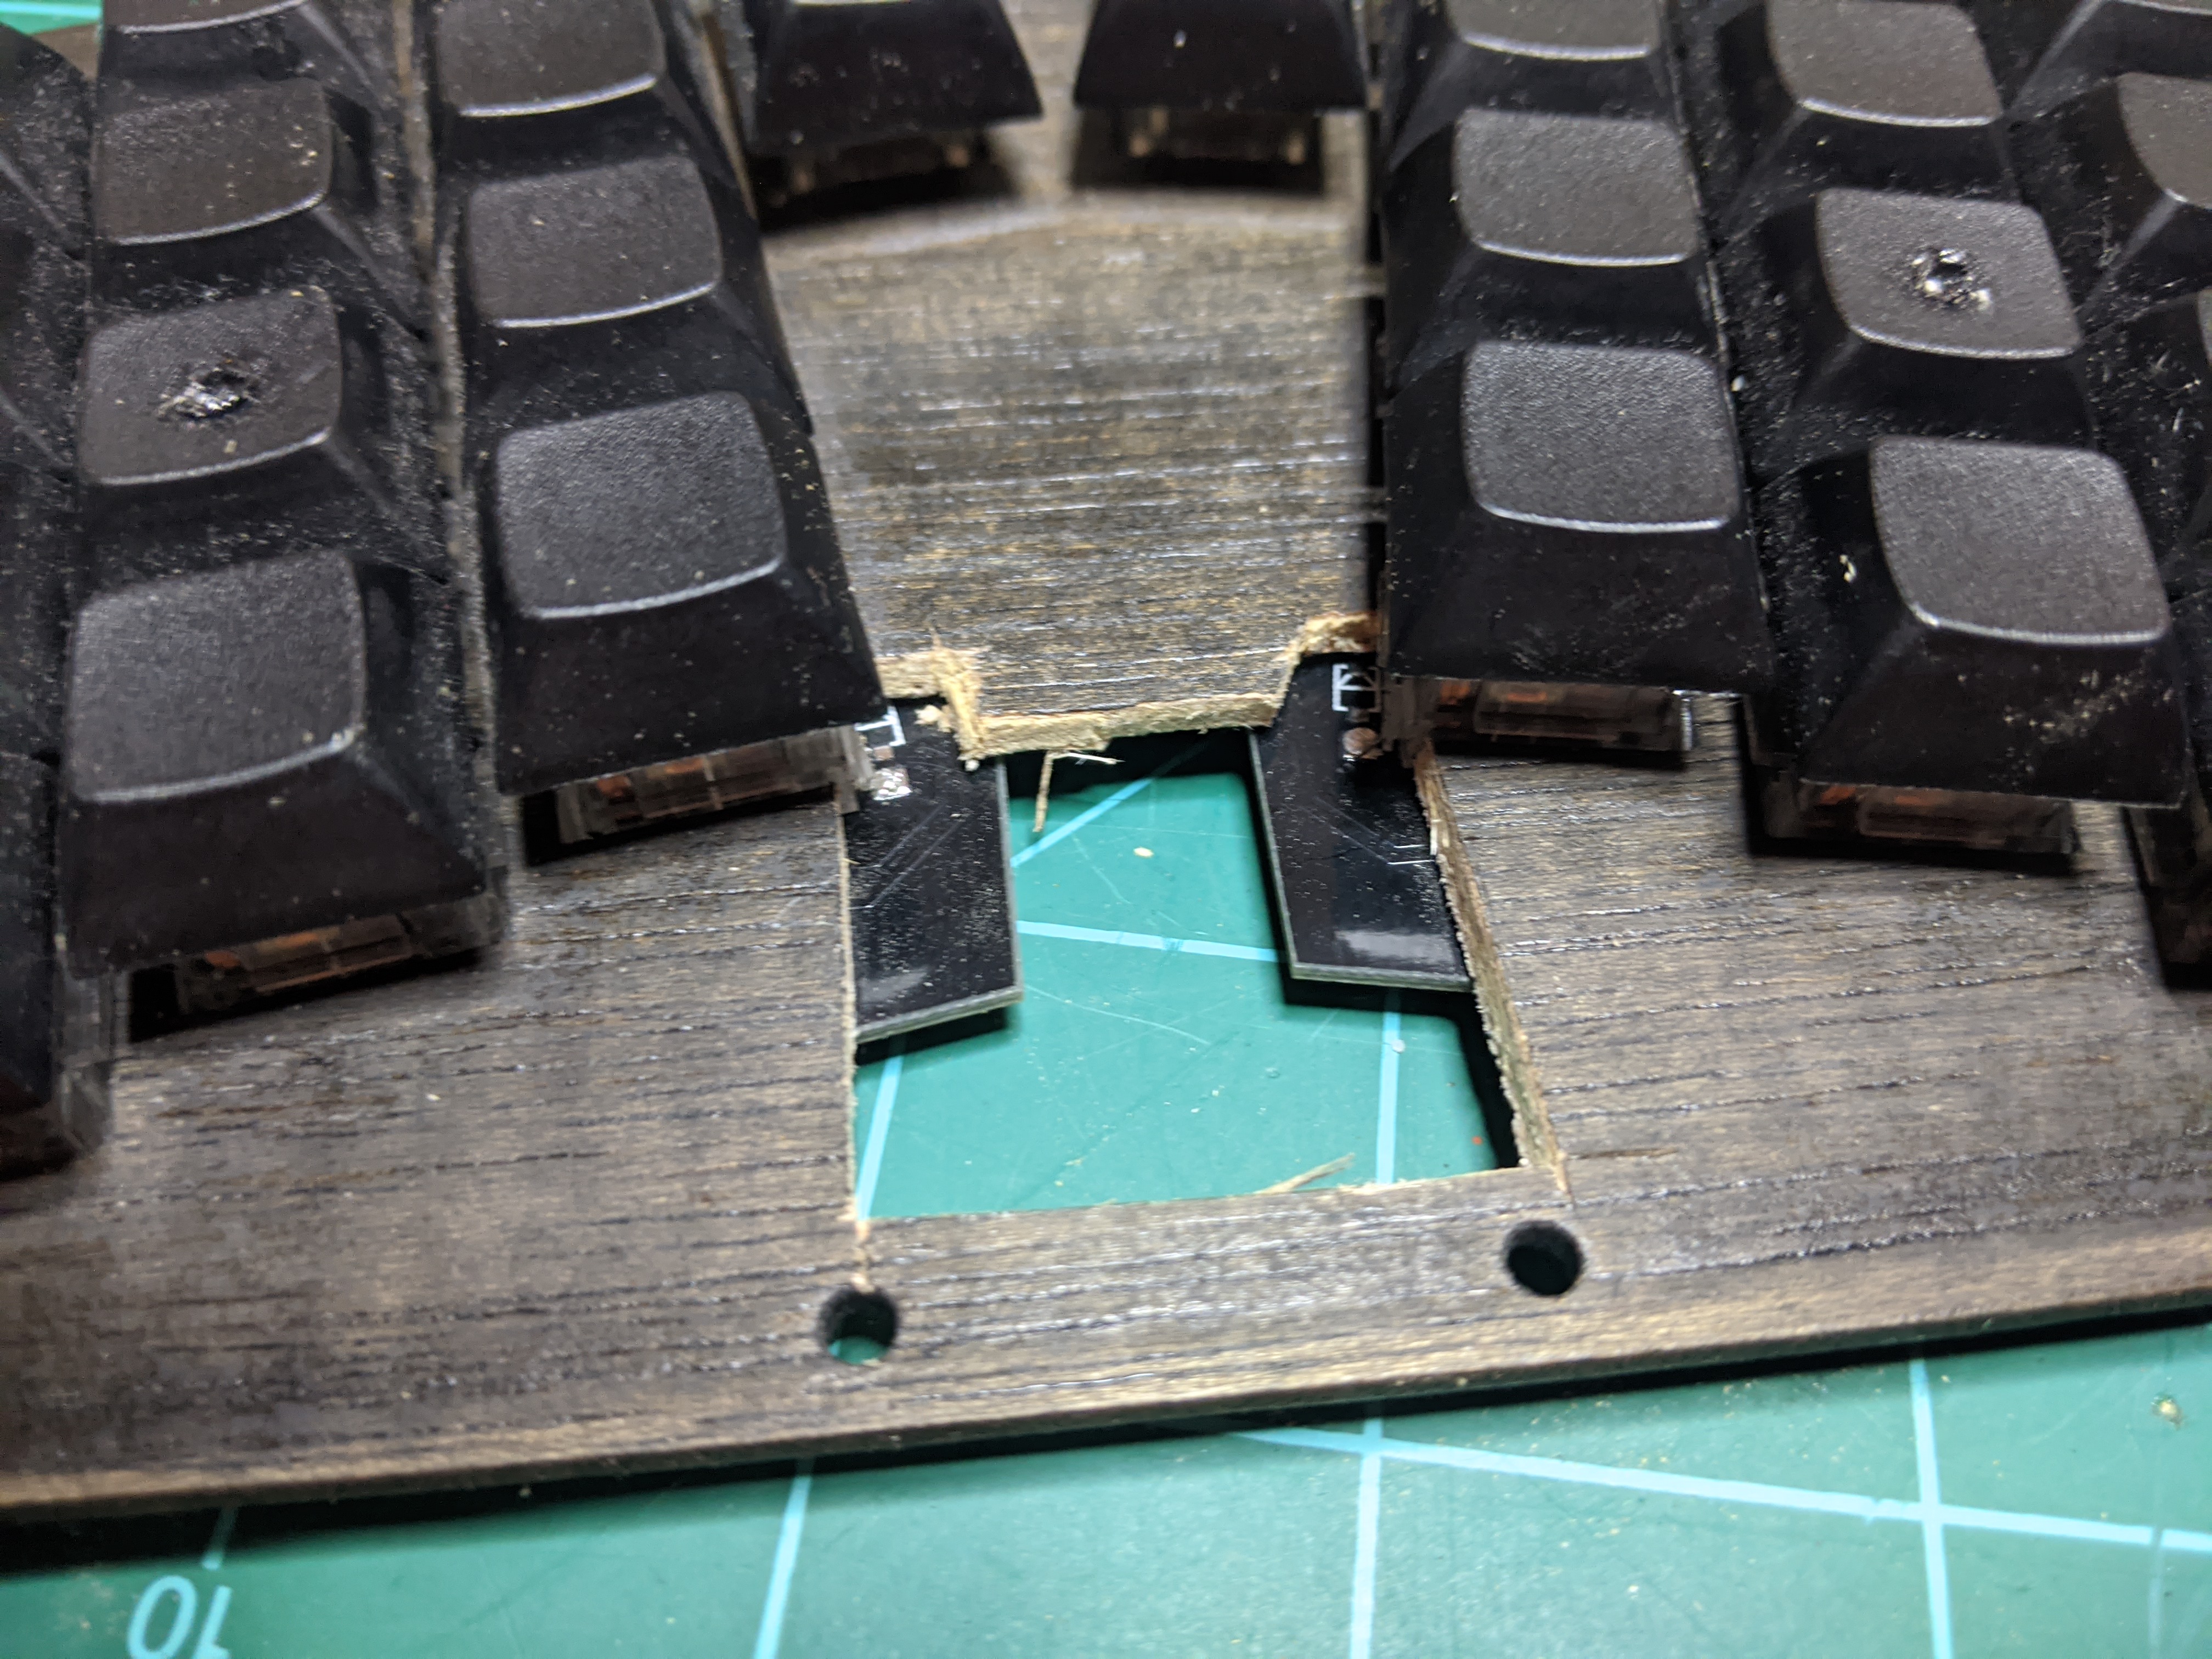
Confident that hardware and software would both work, I took apart my Atreus and started fitting the display. I quickly dismissed my first idea to put the display in the center, since that would put it directly above the Micro, which would require me to completely desolder the board (including the keys). It would be doable with a new kit, but Phil stopped selling them after the Keyboardio Atreus was released (amusingly I just got notification that mine shipped today). The display just barely fits on the top, actually requiring a little trimming of the nearest two switch bodies.

After tracing the outline I carefully cut it out with a razor blade.

However, I then discovered that the STEMMA QT connectors on the display interfere with the PCB. I considered leaving the display like that, slightly tilted towards the user, but after closely examining the traces decided that since there's nothing in those corners of the PCB, I could remove them. The hobby knife wasn't quite up to that challenge, so I took a deep breath (through my dust mask, don't breathe this!) and attacked the PCB with a Dremel with cutoff wheel. That did the trick nicely.


The next challenge was moving the top two key rows from the I2C pins (pins 3 (PD0) and 2 (PD1)) to the unused pins (pins 14 (PB3) and 15 (PB1)). To keep the keyboard as slim as possible, the Micro is squeezed very close to the PCB, so there is little room to work with. Removed the lead was pretty simple, heat and pull, then clean up with some solder wick.
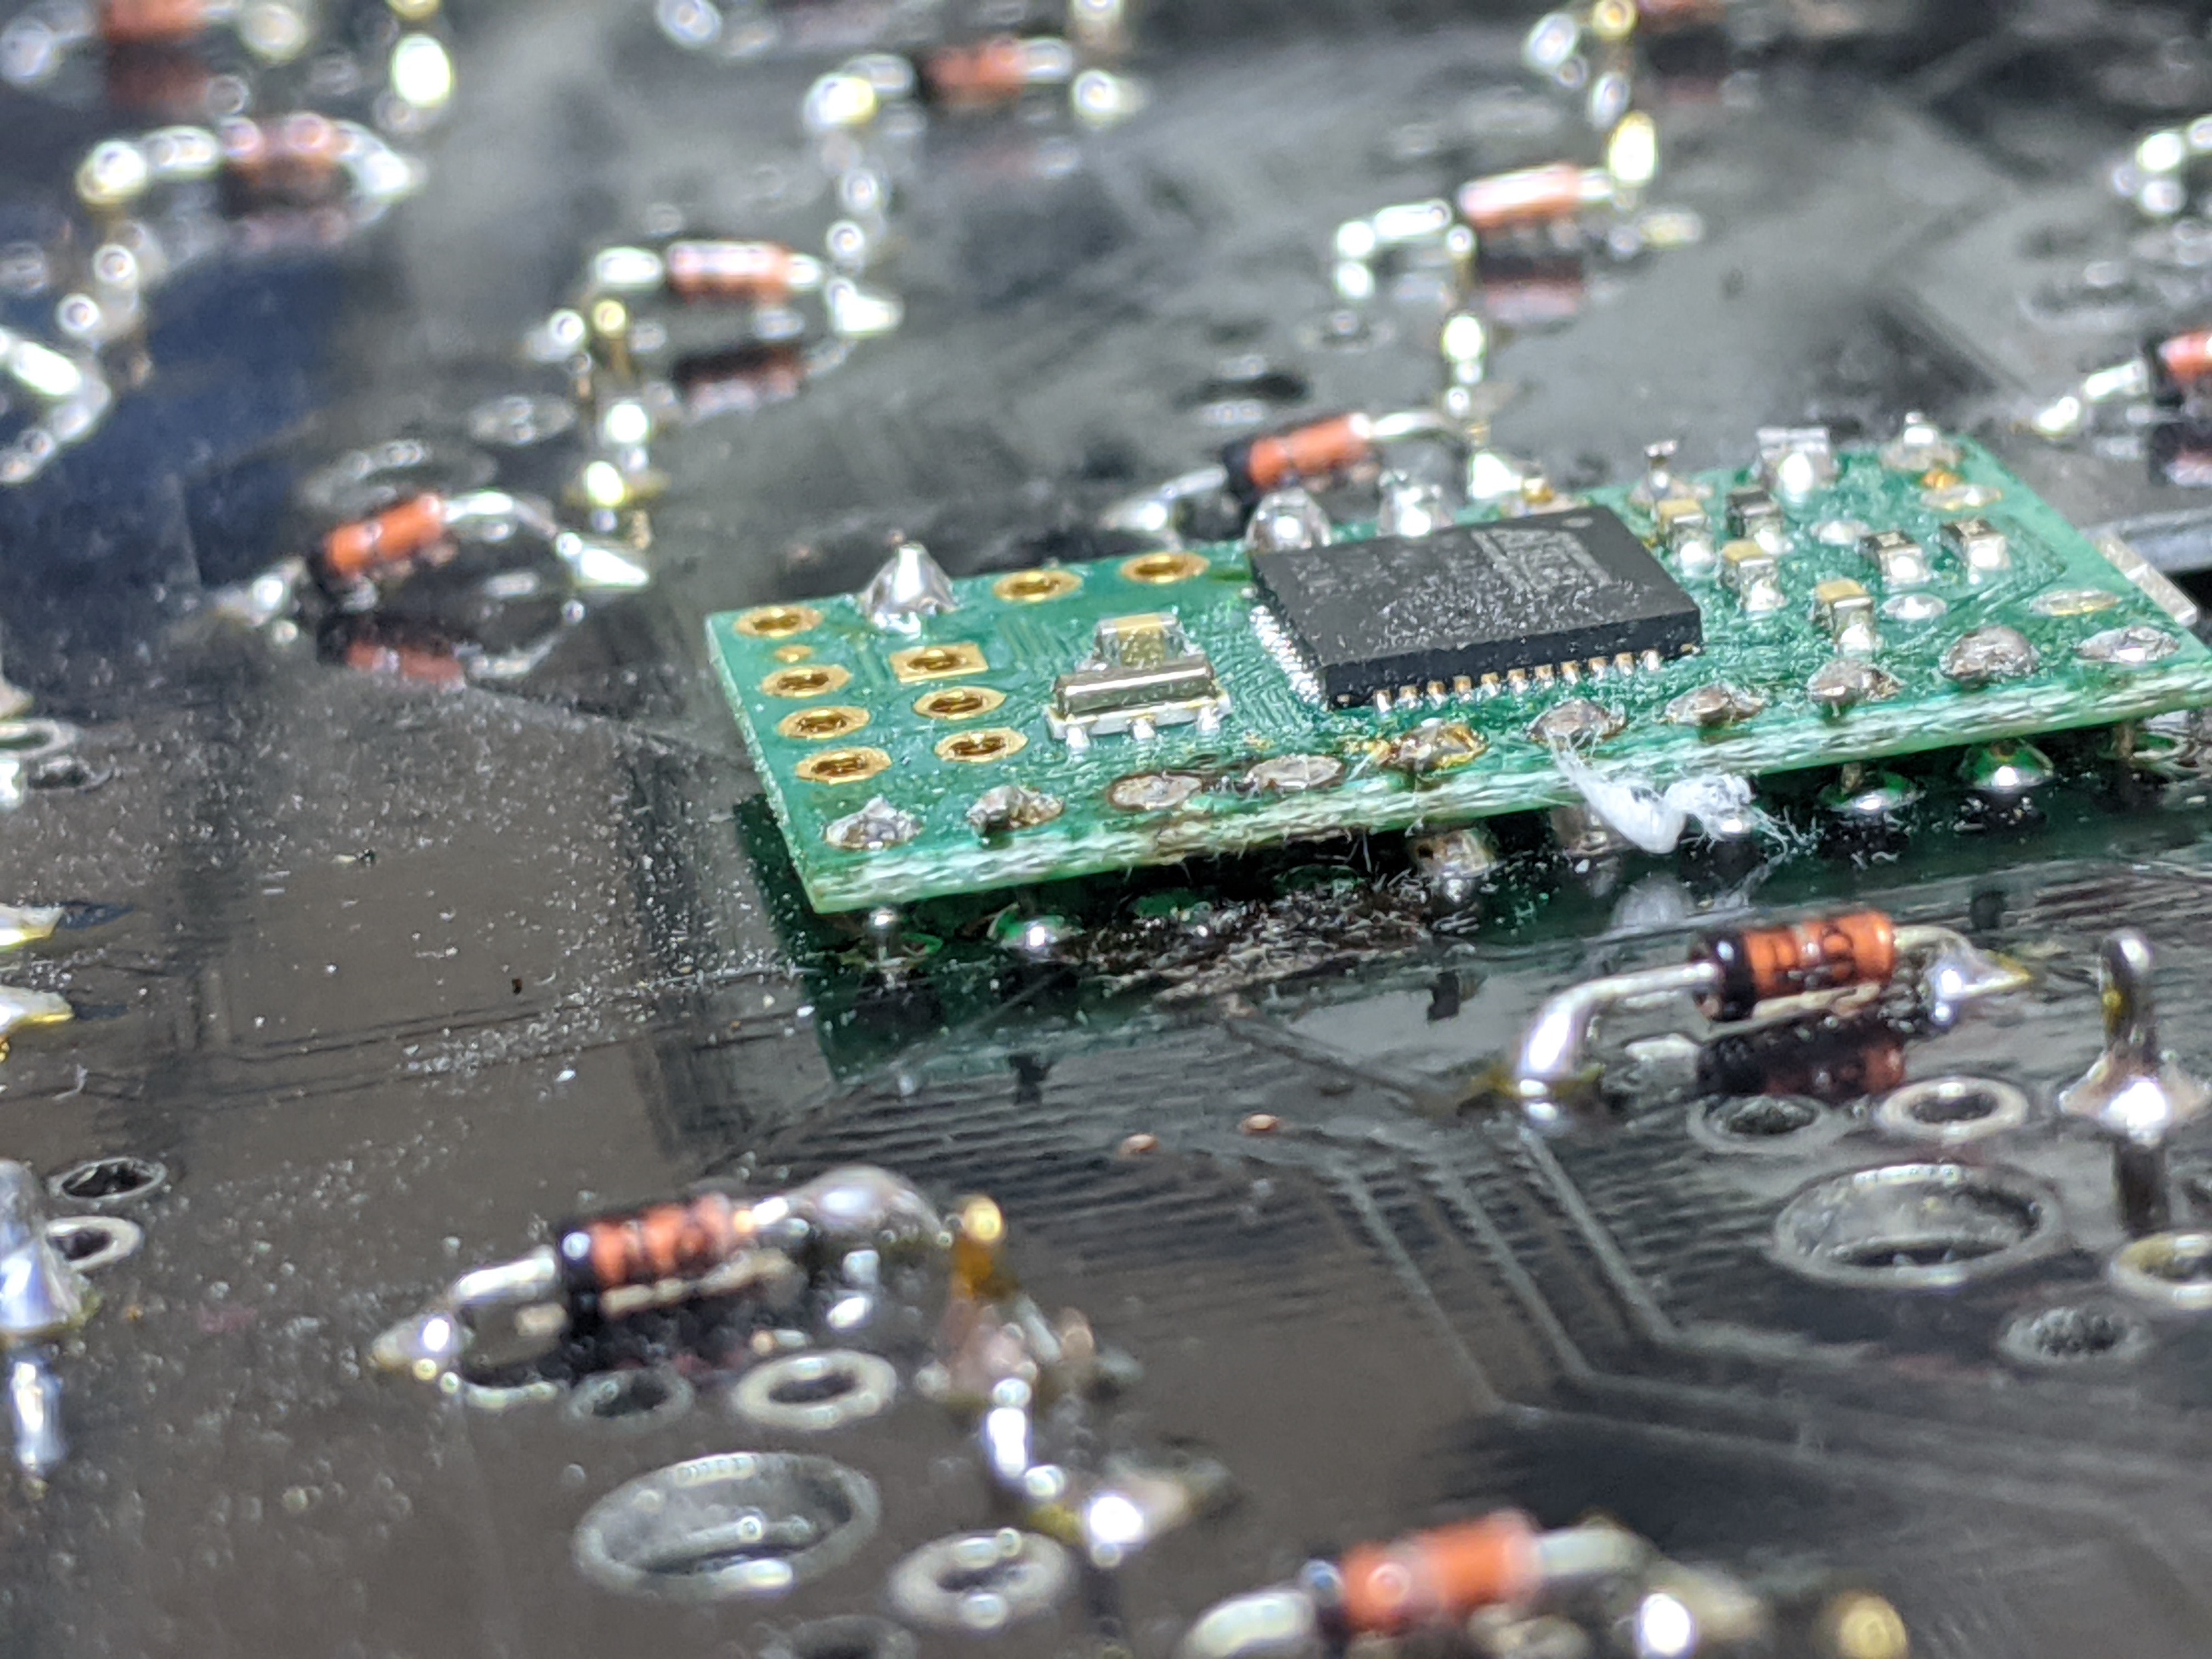
I quickly gave up on trying to re-wire into the PCB, and realized there were diodes nearby that I could tie into for each row. The remaining wiring for the display was straightforward, tie into the 5V and GND pins and the now-freed I2C pins (pin 3 (SCL) to CLOCK and pin 2 (SDA) to DATA).

Software
The Atreus has several firmware options available:
- Legacy, basic C keyboard firmware
- menelaus, which is an experiment in using microscheme
- QMK, which is a full-featured toolkit used for many homebrew and commercial keyboards
My original idea was to use menelaus, since I loved the idea of writing it in Scheme. However, that dream quickly faded when I found that there was not much program memory available, and I faced a tough uproad challenge to get display and I2C drivers incorporated. Also, since QMK is now the recommended firmware to use, it includes an OLED driver, and I have experience from programming three other keyboards with it (Iris Pro, Preonic, and Nyquist), it really is the logical choice.
It was incredibly simple to get the OLED display working with QMK, just setting OLED_DRIVER_ENABLE = yes in rules.mk and adding an oled_task_user() function to keymap.c. The "hard" bit done, I then got to focus my attention on just what to display on the giant 128x64 display using the 8x6 font.
Keymap version 1
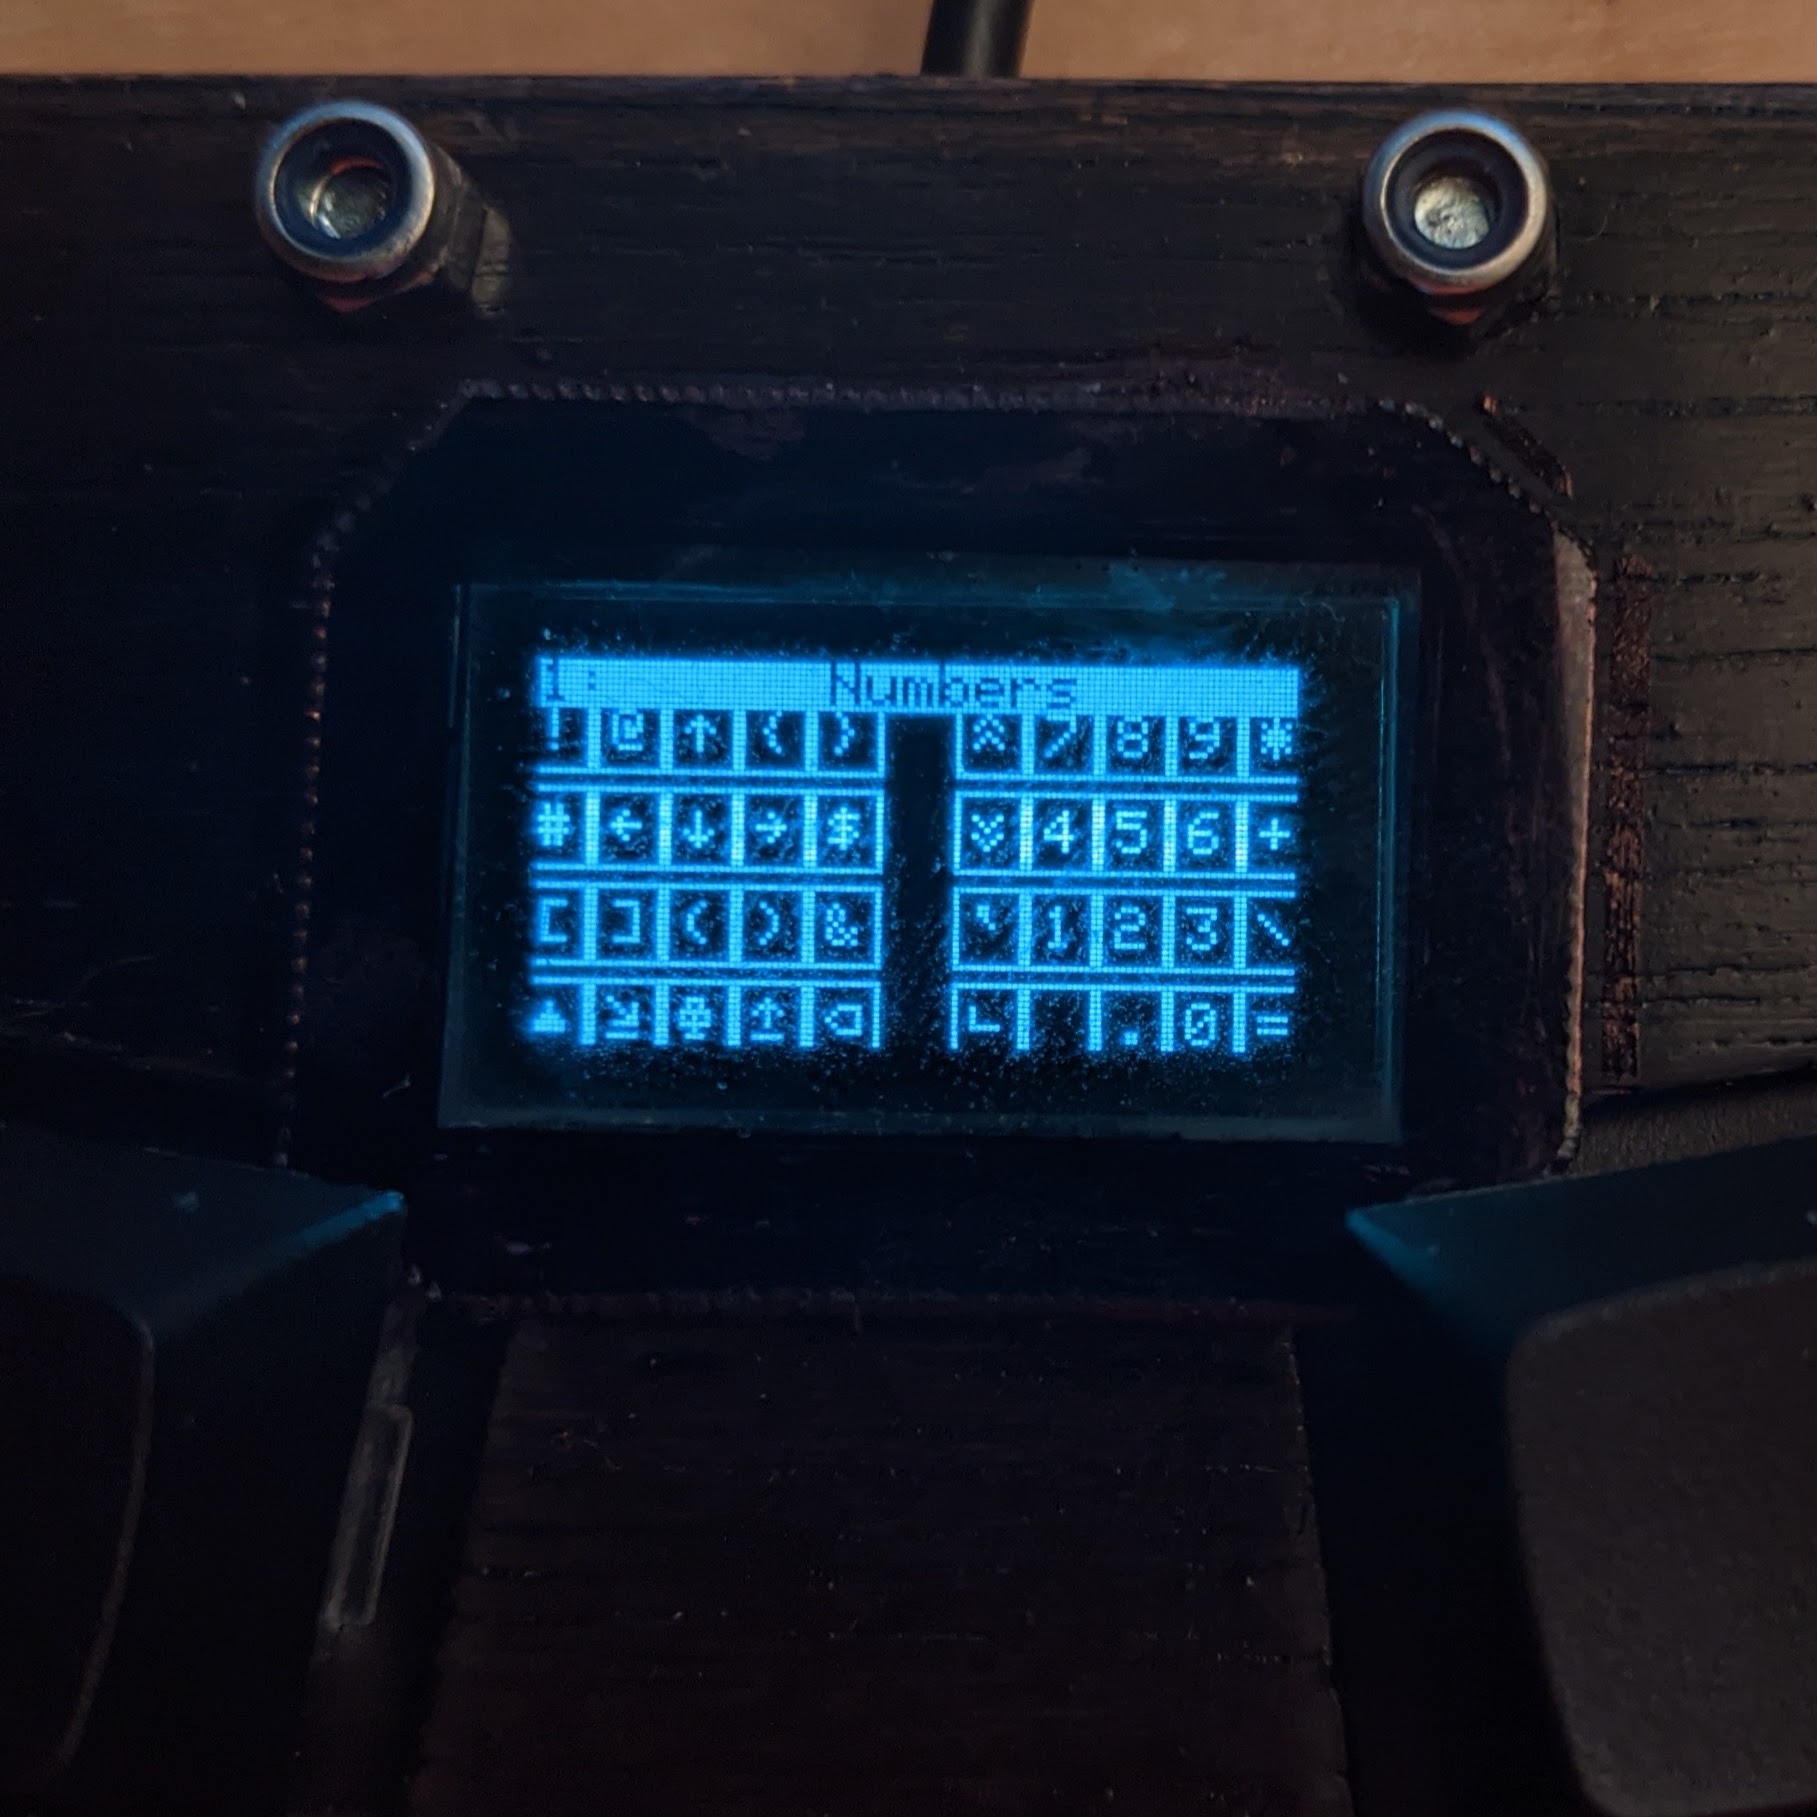
I realized there was plenty of room to display the entire keymap for each layer, even with a bit of decoration (the characters alone felt a bit naked and jumbled). The QMK OLED driver uses a simple 224-character font, adopted from the Helix keyboard firmware, which can be represented as a 192x56-pixel (32x7-character) bitmap, converted between code and image using the online helix font editor or simple Python scripts.
My first version was based on the stock font with the first row of "special" characters and logos removed, which gave me 32 columns and four rows of characters to work with, which was juse enough to encode the three Atreus layers. I mainly designed my own icons for the non-ASCII keys, which was a time-consuming but enjoyable exercise (I find the best challenges involve working within tight constraints). I also played around with a few border variants to help define each key. For this version the character maps were just hardcoded.

Keymap version 2
I quickly grew tired of editing and converting the font, and wanted to make it easy to re-use or modify the character maps, so I consolidated the characters into the font and defined character codes for each symbol, trying to follow the QMK key codes when possible for ease of conversion from key map to character map. I also made a layout macro that mirrors the one used for the Atreus keymaps, excluding the middle column (CTRL and ALT keys). With these character codes and macro it's very easy to convert a keymap to a character map, for example the "function" layer keymap:
  [_LW] = LAYOUT( /* [> LOWER <] */
    KC_INS,  KC_HOME, KC_UP,   KC_END,  KC_PGUP,                   KC_UP,   KC_F7,   KC_F8,   KC_F9,   KC_F10  ,
    KC_DEL,  KC_LEFT, KC_DOWN, KC_RGHT, KC_PGDN,                   KC_DOWN, KC_F4,   KC_F5,   KC_F6,   KC_F11  ,
    KC_NO,   KC_VOLU, KC_NO,   KC_NO,   RESET,                     KC_NO,   KC_F1,   KC_F2,   KC_F3,   KC_F12  ,
    INFO,    KC_VOLD, KC_LGUI, KC_LSFT, KC_BSPC, KC_LCTL, KC_LALT, KC_SPC,  TO(_QW), KC_PSCR, KC_SLCK, KC_PAUS )
converts to this character map:
[_LW] = LAYOUT_ACH(
    ACH_INS,   ACH_HOME,  ACH_UP,    ACH_END,   ACH_PGUP,     ACH_UP,    ACH_F7,    ACH_F8,    ACH_F9,    ACH_F10  ,
    ACH_DEL,   ACH_LEFT,  ACH_DOWN,  ACH_RGHT,  ACH_PGDN,     ACH_DOWN,  ACH_F4,    ACH_F5,    ACH_F6,    ACH_F11  ,
    ACH_NO,    ACH_VOLU,  ACH_NO,    ACH_NO,    ACH_RESET,    ACH_NO,    ACH_F1,    ACH_F2,    ACH_F3,    ACH_F12  ,
    ACH_INFO,  ACH_VOLD,  ACH_LGUI,  ACH_LSFT,  ACH_BSPC,     ACH_SPC,   ACH_LOWER, ACH_PSCR,  ACH_SLCK,  ACH_PAUS )
It was around this point that I ran out of program memory, but I found that disabling mouse key support, which my keymap doesn't currently need, freed up several kilobytes. The default Atreus doesn't have many features enabled, but alternatively maybe disabling the debug console would be enough, it was just a few bytes over.
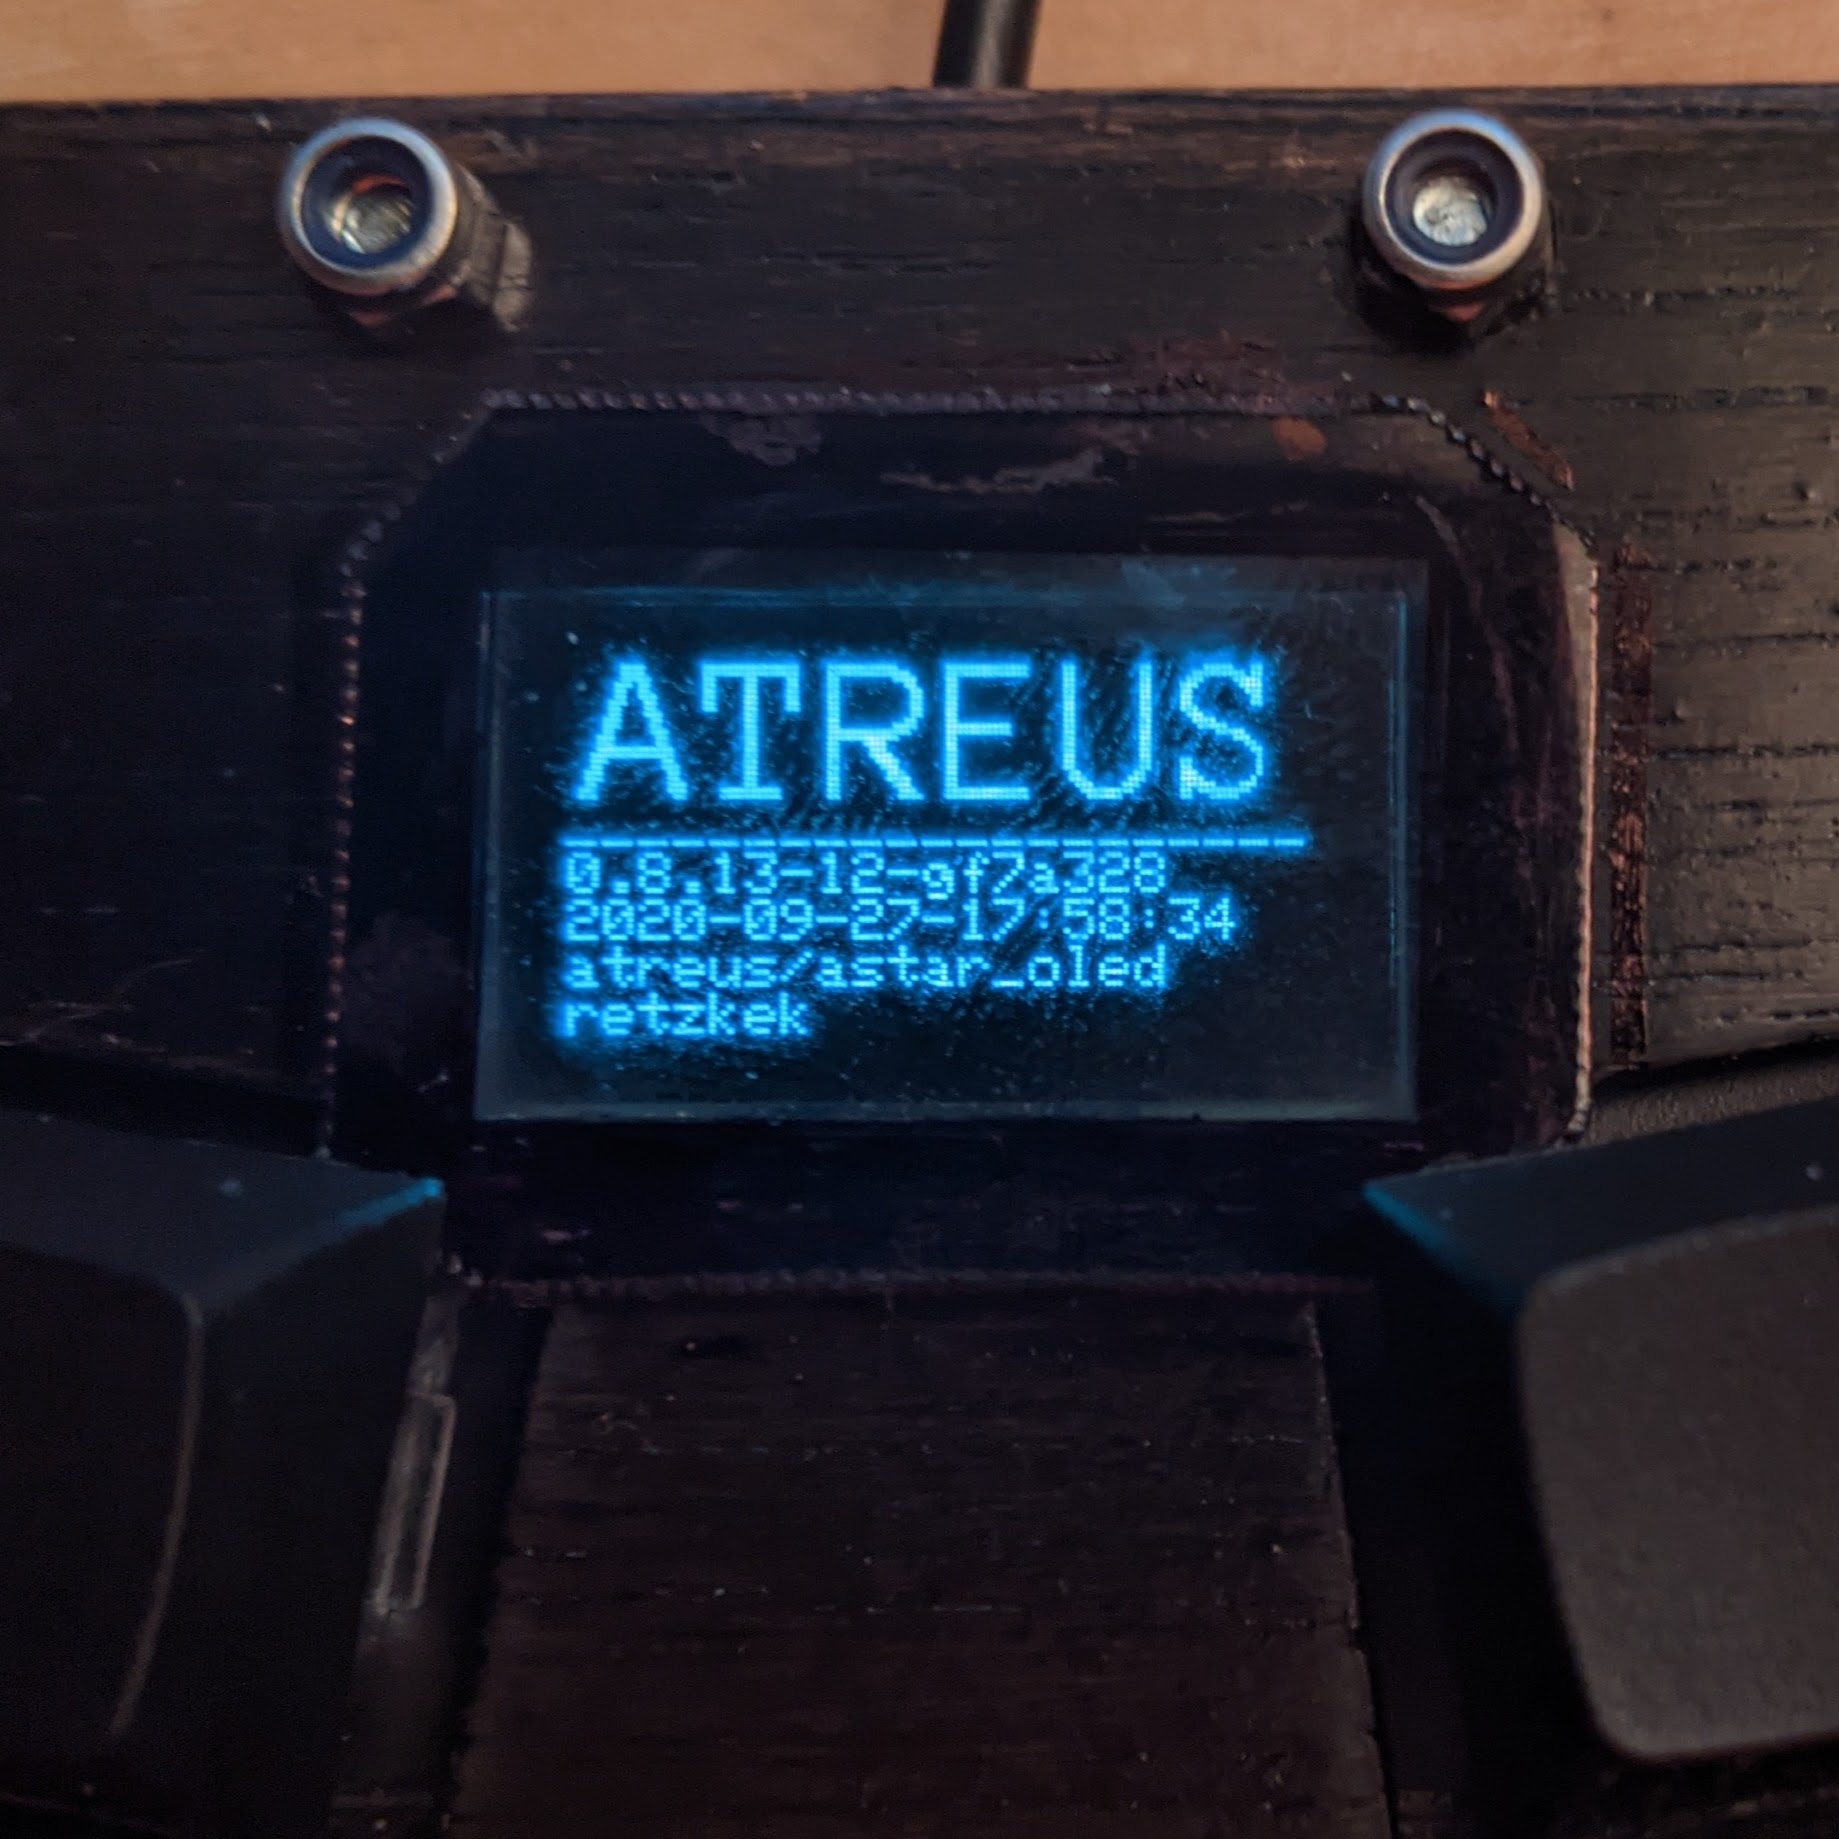
Info scren with logo
Consolidating the font gave me lots of available characters, and since the OLED had replaced the ATREUS logo on the board, I really wanted to add a startup/info screen with the logo and firmware info. Inspecting the Atreus website I determined that the logo is in the freely-available (OFL-licensed) AnonymousPro font, so I installed that and played around in GIMP to fit the logo into the available space.
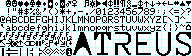
(update 2020-10-07: technomancy pointed out that while he based the logo on the AnonymousPro font, it was modified. I updated the font with the real logo.)
Satisfied with the graphics, I wrote a function to display the logo and firmware info, and used a timer to toggle the display at startup for three seconds. I also added an INFO keycode, and corresponding key on the function layer, to manually display this screen.
static void render_info(void) {
    static const char PROGMEM atreus_logo[] = ACH_LOGO;
    oled_write_P(atreus_logo, false);
    oled_write_P(PSTR("_____________________"), false);
    oled_write_ln_P(PSTR(QMK_VERSION), false);
    oled_write_ln_P(PSTR(QMK_BUILDDATE), false);
    oled_write_ln_P(PSTR(QMK_KEYBOARD), false);
    oled_write_ln_P(PSTR(QMK_KEYMAP), false);
}
Screenshots


Future work
The plastic bezel was a rushed last-minute addition, and while I like the idea I admit the execution is lacking, so I'll probably replace that at some point.
I think a "describe-key" type function would be neat, to display a single keys mappings for each layer on one screen.
Maybe someday I'll play around with the menelaus firmware again...